Finding appropriate online meeting spaces for design students can be tricky. Design is not a 1-many, purely didactic, or content-driven subject. What happens in a tutorial is emergent, constructionist learning – it very much depends on what is presented and the tuition session, therefore, has to respond to this.
In a studio, we often do this as desk tutorials (desk crits; 1 on 1’s; etc.) and what we say is a tiny part of the communication. Designers say a lot visually using paper and pens in these sessions too.
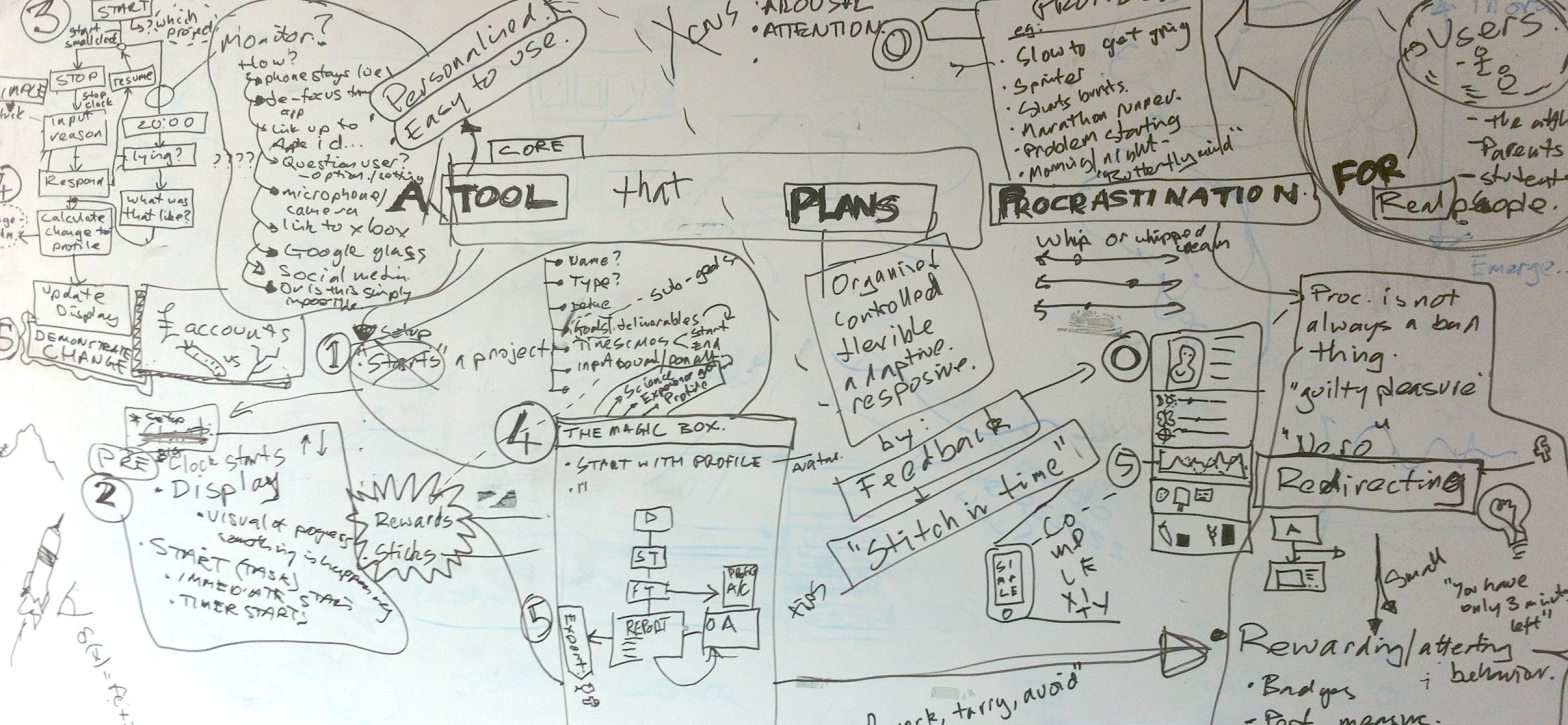
A good online alternative is to use an online whiteboard – an online application that lets multiple users draw, scribble, add images, write, etc. on a blank area.
This is a quick recipe for holding a basic online tutorial for small student groups using an online whiteboard.
Serve to:
Small tuition groups of 5-8 students
Time:
Prep: 30 mins
Session: 60mins
Cost:
Low (lots of free whiteboard apps)
Difficulty:
Can be tricky working online to start but becomes familiar very quickly
Ingredients
- Design project or activities with visual interim hand-ins
- Method for organising running order
- Online whiteboard application. Try:
- AWW Board: https://awwapp.com/#
- Web Whiteboard: https://www.webwhiteboard.com/
- Miro: https://miro.com/online-whiteboard/ (free, but signup required. Good tools)
- Ziteboard: https://ziteboard.com/
- See the Resources page for more
- Computers with internet access and mic/audio
- Method of communicating with group etc.
Method
Preparation
- Set guidelines for the presentation to suit the project / activity need (e.g. 3 minute quick pitch; Client Q&A simulation; formal presentation; etc.)
- Get students to prepare for the session :
- Set a mini brief for the presentation and feedback using guidelines above
- Having images ready (i.e. optimised for web use!!!)
- Practise using the whiteboard tool
- Post a running order or have a sign-up and get students to attend all sessions.
During the activity
- Hold a timed presentation and discussion to give each student enough time – it may take a few goes to get good at this!
- Make use of visual interaction on the whiteboard and encourage students to do the same: sketching over images is a good way to communicate.
- Encourage students to engage in peer critique and dialogue – the less you teach the more learning can happen…
- Invite student to
- Make sure you take a screen capture of each over-marked work and share this with students as part of their feedback. Encourage students to do the same.
- Consider recording the session if students are comfortable with that (but note issues of permissions, hosting and sharing)
Follow up
- Summarise the discussion/feedback for each student and try to use feedforward to focus on change required for next time.
- Or, if your students are at that stage, encourage them to summarise their own feedback (and confirm it with them). Ideally, get student to summarise their feedback
Notes and tips:
Have an online image search ready to quickly copy and paste images to help explain
Warnings:
Remember, this is a tutorial, not a lecture or other mode of teaching – keep it constructivist 🙂

3 thoughts on “Recipe: Online Whiteboard Tutorial”